How to Install a Kitchen Faucet and Give Your Kitchen a New Look
Installing new faucets in the kitchen is a quick and inexpensive method to give the room a facelift. Most kitchen faucets may be installed in about an hour and for around $100. If you’re in the market for a new kitchen tap, now is an excellent time to inspect the pipes under the sink for damage or wear and tear.
Before You Begin
Sinks with a single hole on the rear rim are ideal for installing a single-handle kitchen tap. For a sleek appearance and easy cleaning, all of the water lines pass through that opening.
You may still use a single-handle tap with a sink that has three holes on the rim. You may hide the two side holes with an extra deck plate, so the centre hole is free for the tap.
Tip
- Dispensers for soap or coverings for the holes on the side of the washbasin are two possible uses for these openings. These additional holes are useful for attaching the downstream drinking water tap in the event that you purchase a reverse osmosis system.
What You’ll Need
Equipment and Tools
- Basin wrench
- Pliers
- Flashlight
Materials
- Single-handle kitchen faucet
- Deck plate (for three-hole sinks)
- PFTE or Teflon tape
How to Install a Kitchen Faucet
Shut Off the Water Supply
For the current kitchen tap, turn the hot and cold valve levers clockwise to turn off the water flow. You may find the handles for the valves within the base cabinet of the sink.

Tips
- Locate the main water shut-off valve and turn it off to the whole home if the valves are proving difficult to shut off.
Remove the Existing Kitchen Faucet
I surveyed the dilapidated kitchen, envisioning the transformation ahead. Removing the ageing faucet would begin the renovation. First, I disengaged the flexible supply hoses from below. Then I freed the faucet body by loosening the securing nut atop the basin. In one motion, I drew forth the entire assembly.
Prepare the Sink Rim
Grime coated the sink’s rim, so I scrubbed away years of accumulation. Only then could the new fixture rest square and true.
Add the Deck Plate (Optional)
For basins with three holes, a deck plate brings order. I seated the rubber gasket before placing the circle overhead.
Run the Supply Lines Into the Sink
Preattached lines preceded the faucet downward. My guiding hand threaded their passage into the centre gullet.
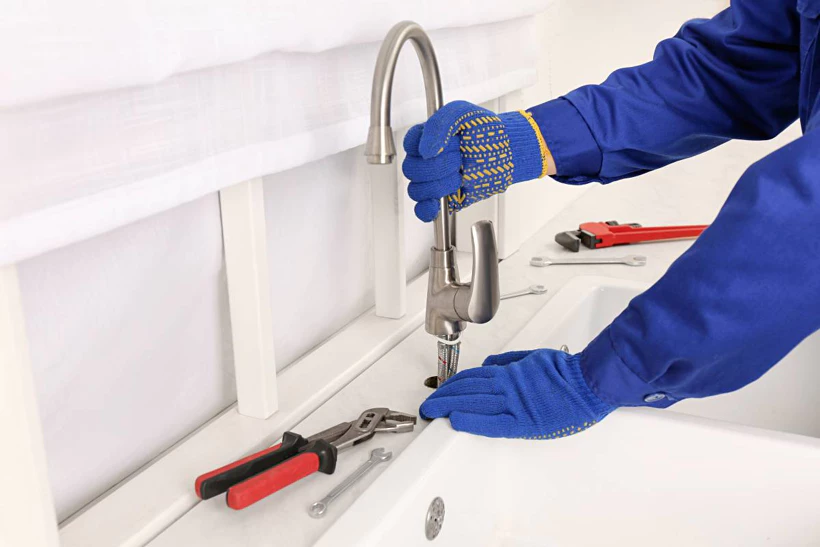
Attach the Faucet Locking Nut
From below, the vast locking nut received the threaded shank in a tight embrace. A specialised wrench cinched their union with force.
Note
- Some kitchen faucet kits come with a cylindrical plastic tightening tool, which acts much like a basin wrench.
Attach the Counterweight (Optional)
Some sprayers use a weighted strand for their hose to drape artfully when dormant. Others mark proper placement with tints along flexible lengths.
Apply Pipe Tape to the Valves
A wrapping of hemp-like fibres around shut-off valves prepared them for joining. Clockwise, I wound to seal against future intrusion of liquid.
Connect the Water Supply Lines
The supply lines now mated with corresponding valves below the sink. My hands first joined them loosely, then tools completed their fusion with care.
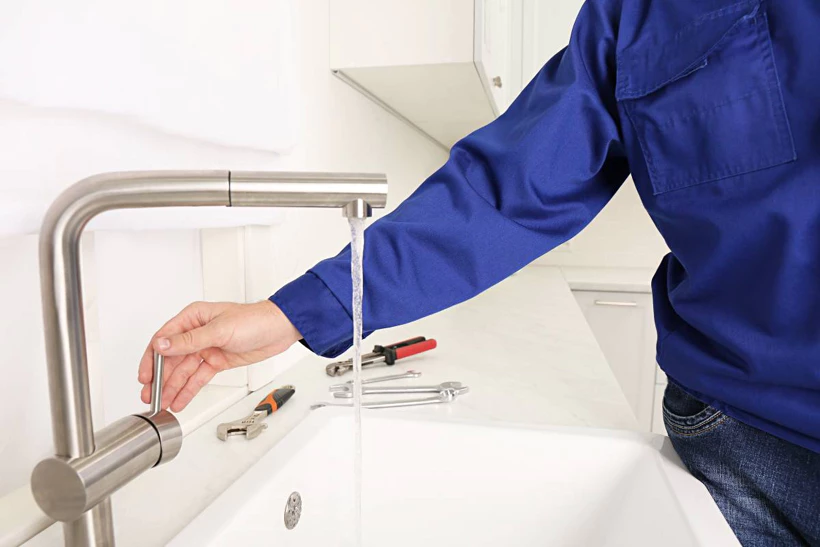
Test the Faucet
A counter-clockwise turn relaxed shut-off barriers, allowing water to flow anew throughout the freshly replumbed space. My light and eyes inspected for errant wetness as taps were tested at last.
Tips for Kitchen Faucet Installation
- Most leaks manifest promptly if the tap was installed incorrectly or if the product possesses a defect. While some small drips may commence immediately, larger leaks often take time to emerge as sealants and connections are tested with continuous use and fluctuating water pressures.
- Do not fix the sprayer hose counterbalance solely to the bottom of the coil. For optimal function, it is vital to position the mass several inches above the lowest point of the loop so it can counteract the weight of the hose when the spray function is engaged without causing undue strain.
- New installations necessitate double-checking that the faucet’s hot and cold supply pipes are firmly yet gently hand-tightened to the corresponding hot and cold valves. Overtightening may fracture delicate metal components within the assembly. Likewise, undertightening permits leakage. A tool-free connection is ideal when feasible.
- Occasionally, the diameter of contemporary 3/8-inch water tubes is incompatible with older 1/2-inch supply valves left over from previous fixture installations. Adapters are warranted to avert mismatch difficulties and wasted effort. Adaptors or alternative connection fittings can usually be found at most plumbing material outlets or home improvement centres.
When to Call a Professional
Most homeowners will find installing a basic kitchen faucet to be a straightforward do-it-yourself project requiring minimal skill or expense. More complex fixtures, like pull-down or wall-mounted designs, may necessitate hiring a plumber given their atypical installation demands. Those connecting their faucet to an on-demand water heater are also best served by enlisting professional help.
FAQ
Do you need a plumber to install a kitchen faucet?
While a handy homeowner can successfully tackle a typical drop-in faucet installation, some individuals may encounter difficulties accessing plumbing connections beneath the sink and instead prefer paying a plumber a reasonable fee to complete the job without undue hassle. Reaching cramped plumbing lines can prove challenging for certain homeowners.
How much should it cost to install a kitchen faucet?
For a basic kitchen faucet project, budget approximately $75 to $125 for the cost of materials and your time. The cost is almost entirely the price of the new faucet itself, as few extra components outside the included sealing gaskets will likely be needed. With some effort, most can recoup this minimal investment by completing the work independently rather than paying a plumber’s labour fees.
Do you need caulk to install a kitchen faucet?
Provided the existing sink rim and drain hole are in good working order, a new faucet should seal snugly against it using only the provided rubber washers. Caulk is generally an unnecessary additional step for a standard faucet installation where all included waterproofing components are utilised as directed.